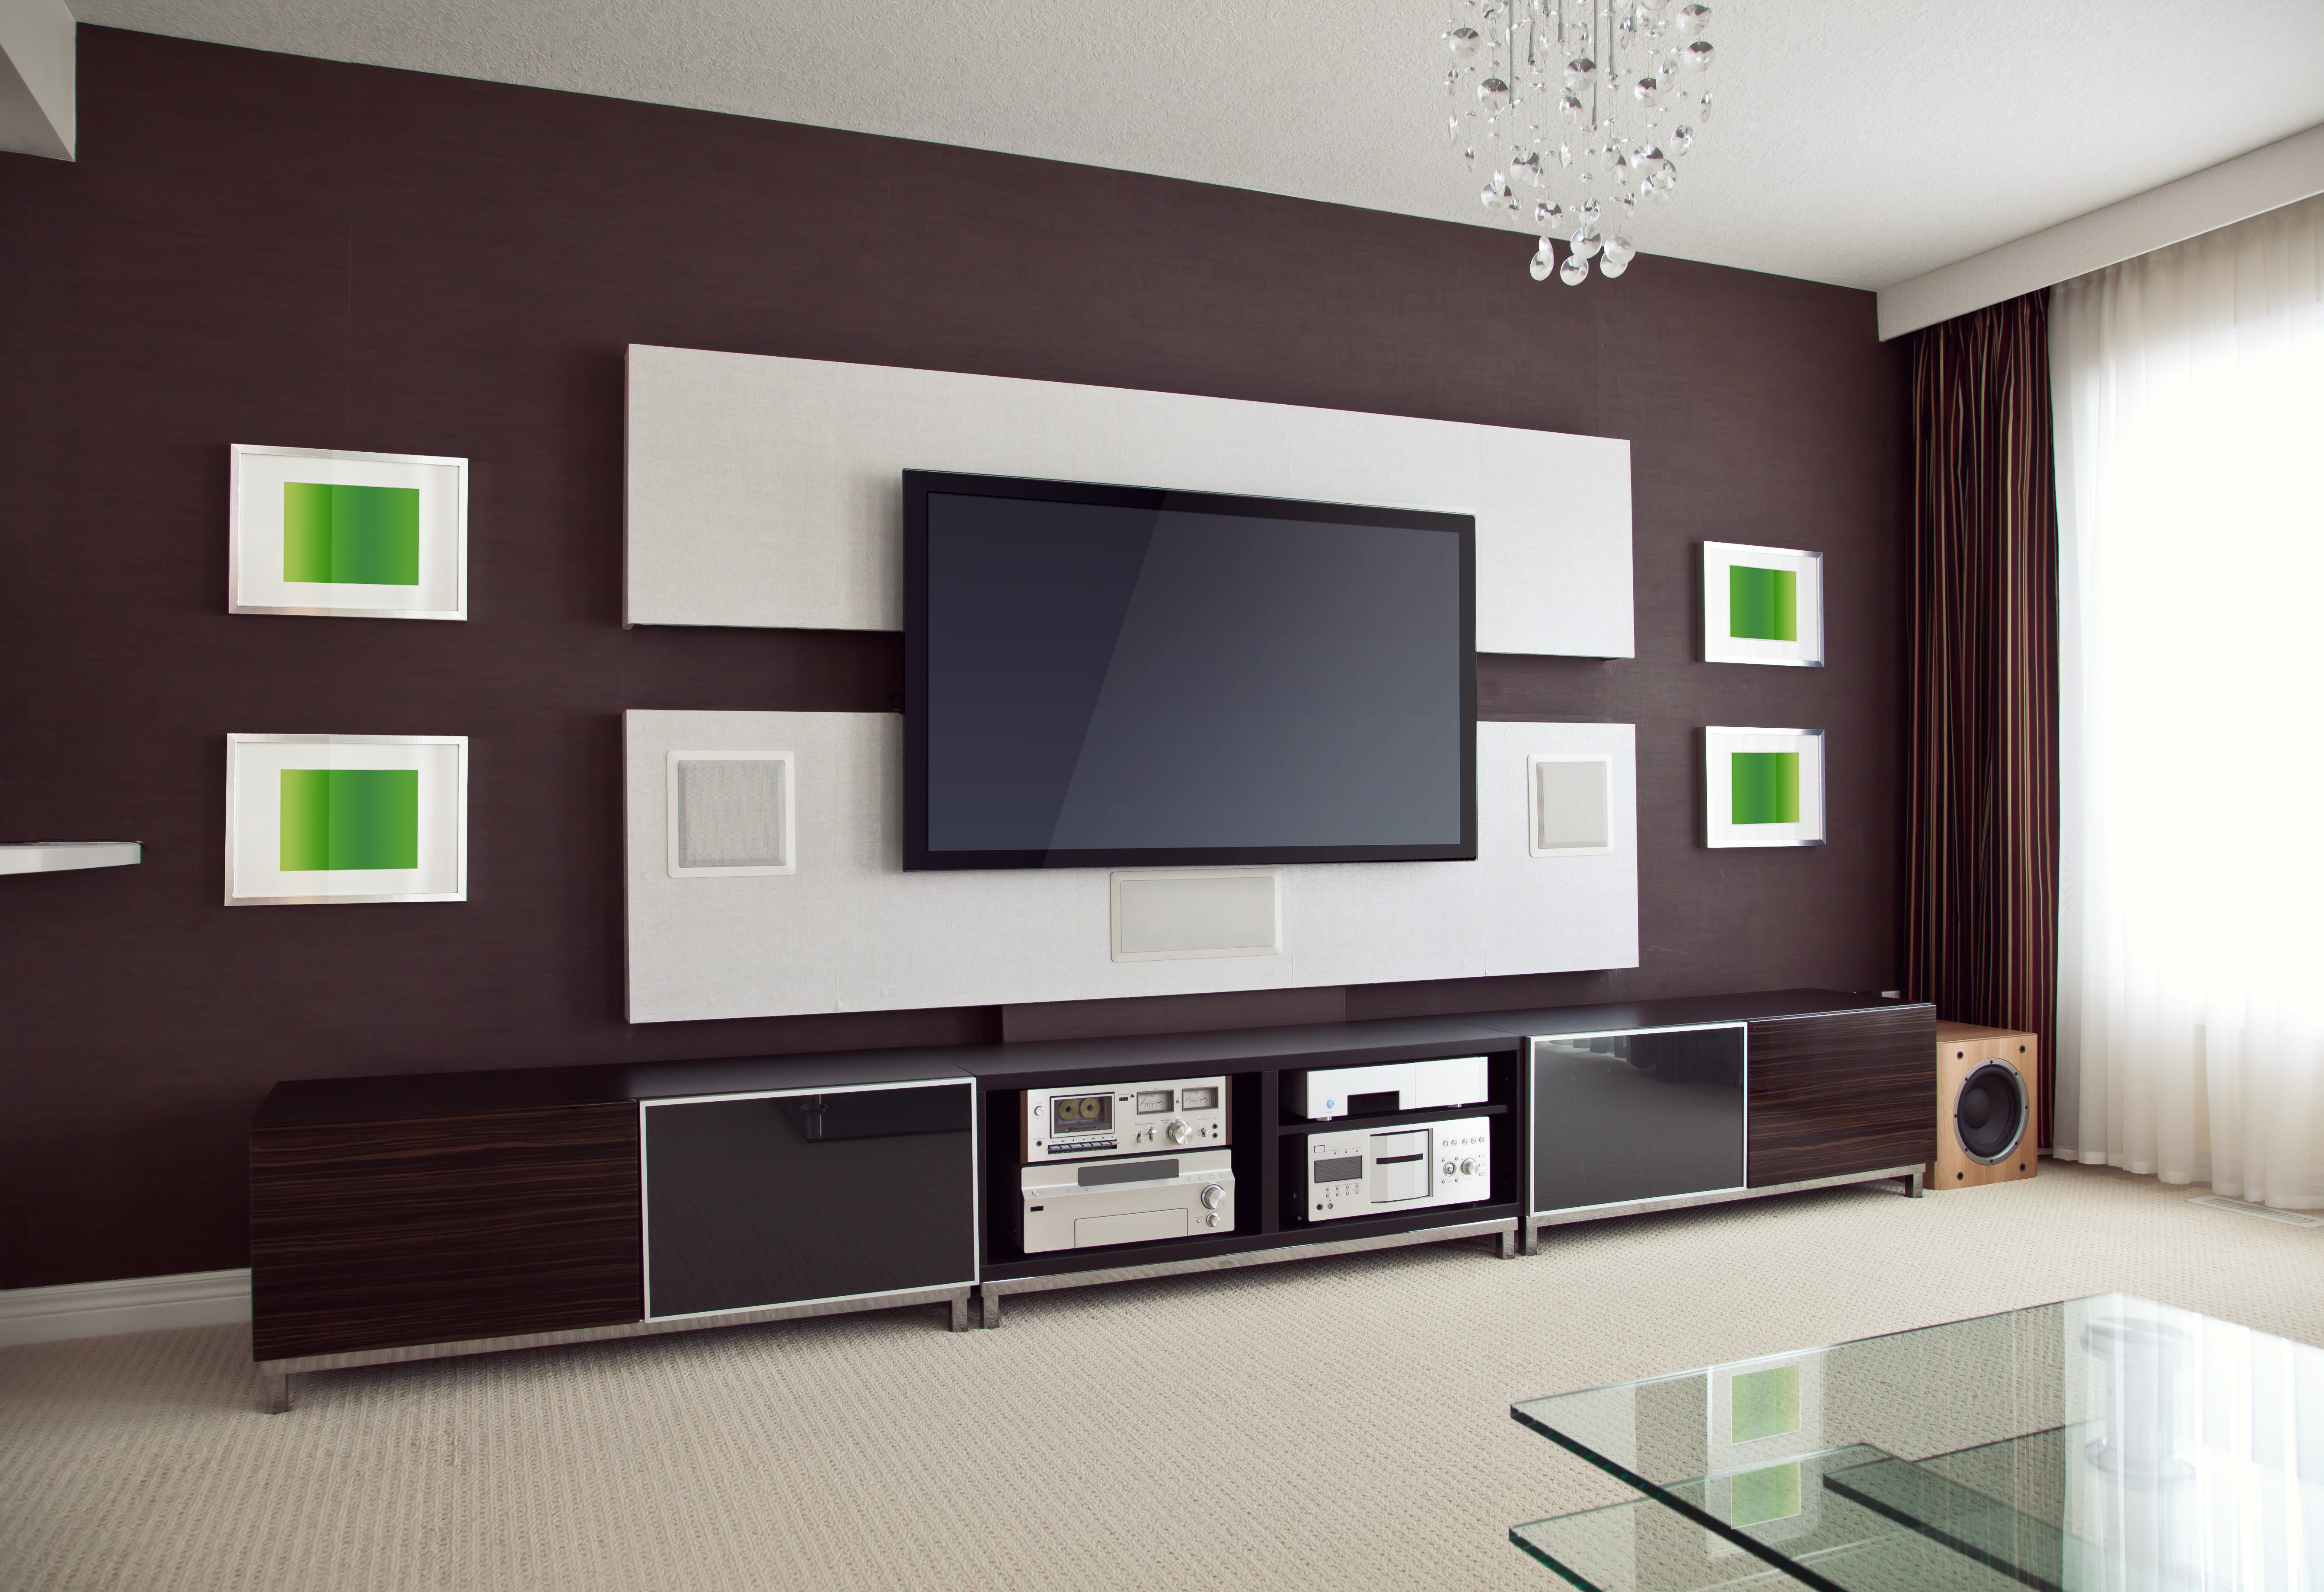
A popular speaker option for hi-fi audio systems is in-wall or in-ceiling speakers. Often times listeners want hi-fi surround sound but don't have the space for bookshelf or floorstanding speakers around the TV or living space. If this is the case, concealed speakers are a great alternative. They are also perfect for outdoor sound solutions or permanent installations in home theatre rooms.
Whatever the reason be, the biggest drawback to concealed speakers is usually installation. Having in-wall speakers installed can be intimidating, and if you hire a professional to install them, that just adds extra costs onto your investment. However, installing in-wall speakers yourself is actually very possible and isn't that complicated if you have a bit of experience with construction projects.
Now, if you've never tried installing anything before, we do recommend hiring a professional. It takes precise measuring and calculated cuts to install speakers properly and make sure they aren't uneven -- and when it comes to cutting drywall, mistakes can be pretty involved to fix. But, if you know your way around a drywall saw, this should be a breeze. Here's a step-by-step guide to installing in-wall speakers yourself:
Necessary Materials
Firstly, here are all the tools and materials you'll need to complete the job:
- Drywall saw
- Drill
- Wire stripper
- Stud finder
- Level
- Screwdriver
- Masking tape
- Tape measure
- Pencil
- Tarp or floor covering
Make sure you have everything on this list before you begin.
Installing the Speakers
Get all your tools ready, and put the tarp or floor covering down in front of the wall where the speakers will go. This is simply to catch any drywall or debris that falls during installation to make cleanup easier and protect your flooring. Then, you're ready to start!
1. Plan speaker placement
First you have to decide where you want to install the speakers. Speaker placement is practically its own science; you can read more about it here. But in general terms, you want the distance between the speakers to be the same as the distance from one speaker to the listening point. The proper height depends on the design of the speakers and your seating arrangement. You want the tweeter to be approximately 42” from the floor, or the typical height of your ears when sitting.
2. Mark speaker locations
Once you know generally where you want each speaker to be installed, use the stud finder to locate nearby studs. Identify two cavities, or spaces between studs, that have some symmetry with the wall or seating area. Use the tape measure and pencil to mark off each cavity.
3. Draw the outline of the speakers
Most in-wall speakers will come with cardboard templates so you can easily trace the opening that you need. If you don’t have a template, you can create one by cutting a piece of cardboard to be the exact size of the speakers, or you can trace the speakers themselves on the wall using a pencil. Be sure you are tracing the part of the speaker that will be installed in the cavity. Exact measurement is key at this point – measure your outlines and ensure they are the same height and the exact placement you want.
4. Cut openings
Now it’s time to make your cuts. It’s a good idea to use masking tape to mask off the area immediately around the opening to protect your walls. Use the drywall saw and the drill to cut and remove the openings.
5. Run wires
With the openings cut, you can take this opportunity to run the wires from the amplifier or receiver. Attic space can come in handy here. Just be sure you have access to the speaker wire before installing the speaker.
6. Connect wires
We’ve got a full guide on DIY speaker cable here. But for the short version: use the wire stripper to strip the ends of the speaker cable and connect it to the back of the speakers. Do not leave an excess copper exposed once you’ve connected it to the terminal, as this could lead to an electrical short that could potentially damage your amp.
7. Put in the speakers
With all wires connected, you can put the speakers right into the openings and use a screwdriver to tighten the screws. Using a manual screwdriver is recommended, as a drill could over-tighten and damage the drywall.
8. Add the finishing touches
Once the speakers are installed, they probably have a grill that can be fastened onto the front. Clean up your work area, remove any masking tape, and you’re good to go!